How to Tie a Bow on a Dress: The Only Technique You Actually Need

How to Tie a Bow on a Dress: The Only Technique You Actually Need
You've got the dress. The occasion is set. And then you spend fifteen minutes wrestling with a sash that refuses to cooperate, producing something that looks less "elegant bow" and more "hastily wrapped gift." I've watched grown women nearly cry over flower girl dresses, and I've personally retied my own wrap dress four times before leaving the house because the bow kept drooping like a sad balloon animal.
Knowing how to tie a bow on a dress properly is one of those skills that seems absurdly simple until you actually try it, at which point you realize nobody ever taught you the right way. The good news: once you understand the mechanics, you'll wonder why you ever struggled with this in the first place.
Why Your Bows Probably Look Wrong
Most people tie dress bows the same way they tie shoelaces, which is exactly the problem. According to couture fitting tailor Rhonda Hale, who has over 12 years of experience working with brides, celebrities, and high-profile clients in New York City and Nice, the standard shoelace method creates what's called a "granny knot" that sits vertically instead of horizontally. This is why your bow flops to one side, twists awkwardly, or refuses to lay flat against your back or waist.
The difference between a polished bow and a messy one often comes down to a single adjustment in which direction you wrap the ribbon. Pink Princess, a children's formalwear retailer, notes that appearance is everything for special occasions like flower girl duties, first communions, and holiday gatherings and a crooked bow can undermine an otherwise perfect outfit. What they don't mention is that adults face the exact same problem with wrap dresses, jumpsuits, and anything with a self-tie belt, and most of us have been quietly improvising our whole lives.
The Step-by-Step Method for Tying a Bow on Any Dress
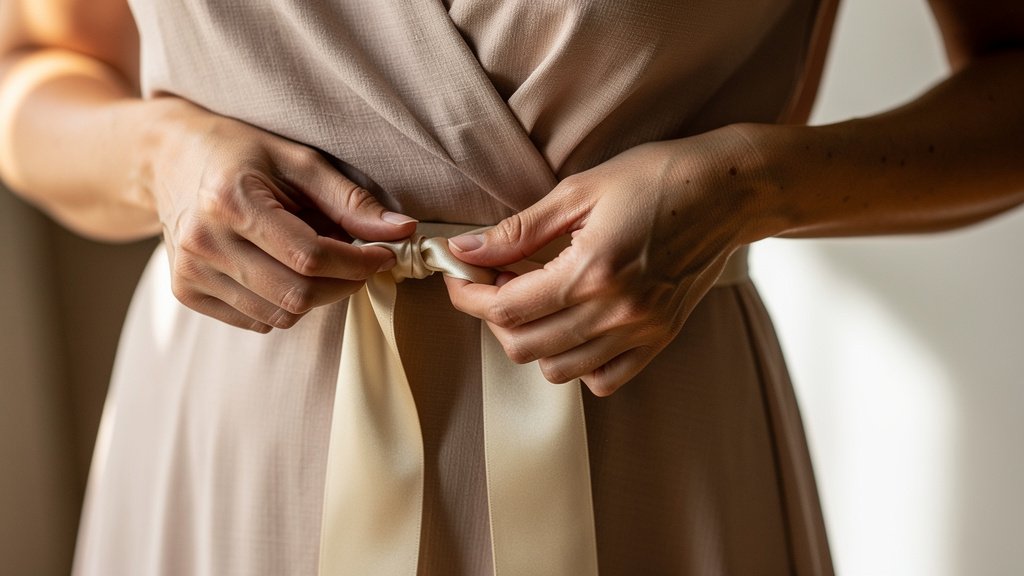
Connected Apparel's stylists recommend starting with uneven tie lengths, which sounds counterintuitive but actually creates a more balanced finished bow. Hold one tie in each hand about 10 inches away from your body, making the tie in your left hand a few inches longer than the one in your right. This compensates for the fabric you'll use up when forming loops and prevents one tail from ending up dramatically longer than the other.
Cross the left tie over the right tie, then wrap the left tie back toward your body and around the right one. Pull both ends to create a snug base knot this is your foundation, and if it's loose, nothing that follows will look right. Now take the left tie in both hands and fold it backward about 5 to 6 inches from your body to create a loop. The size of this loop determines the size of your finished bow, so think about proportion: a delicate loop for a child's dress, a fuller one for a statement sash on an adult garment.
Hold the loop pinched between your thumb and forefinger at the fold point. Take the right tie and wrap it over the front of the loop, around the back, and through the small opening you've created behind the loop. Pull it through to form your second loop. Make sure you're pulling the second loop through in the opposite direction from how you wrapped the first knot, because this is what makes the bow sit horizontally instead of vertically, and it's the single most common reason bows end up twisted or lopsided.
Pull both loops outward simultaneously to tighten the center knot. Adjust the loops to make them even, and tug the tails downward to secure everything. If the bow still looks uneven, you can gently pull on individual loops or tails to balance the proportions this is normal and doesn't mean you did it wrong, since fabric weight and texture affect how bows settle.
Back Bows vs. Front Bows
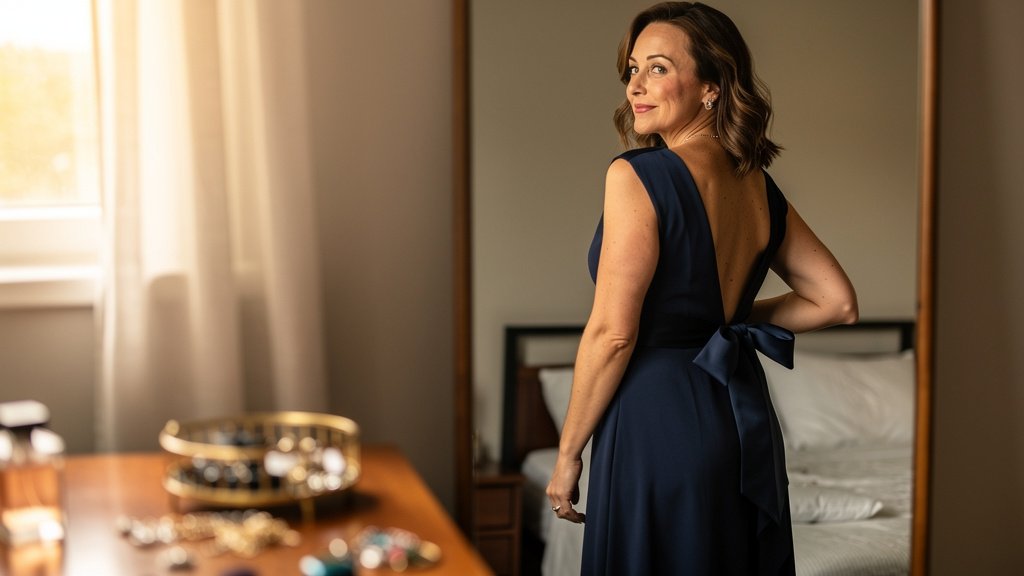
Tying a bow behind your back is genuinely harder than tying one you can see, and the difficulty is compounded by the fact that you're working entirely by touch. For back sashes on formal dresses, wikiHow's guide (co-authored with Rhonda Hale) suggests the same fundamental technique but acknowledges you'll need to work by feel rather than sight.
If you're tying a back bow on yourself, do it in front of a mirror with your back turned so you can at least see what you're working with. Or have someone else do it formal occasions usually involve other people anyway. For children's dresses, Pink Princess's step-by-step guide emphasizes lining up both sides of the sash to be straight, smooth, and even before you begin, which is considerably easier when you're standing behind the child rather than contorting your own arms backward.
The Half Bow Alternative
Not every dress needs a full bow. Fashion blogger Tanya Foster points out that the half bow has become increasingly popular for shirt dresses, paper bag shorts, and tops with waist ties, offering a more casual, modern look than the traditional double-loop bow. It's also significantly easier to tie, which is a legitimate reason to choose it.
To tie a half bow, start by grabbing both ends of your tie, then make a single loop with one end while wrapping the other side around it. Instead of pulling through to create a second loop, you leave one side as a hanging tail. The result looks intentionally relaxed rather than unfinished, though context matters a half bow on a linen shirt dress reads as effortless chic, while the same knot on a formal gown would just look incomplete. I couldn't find reliable data on what percentage of dress bows are half bows versus full bows, though anecdotally they seem more common on casual daywear than on anything you'd wear to a wedding.
Fabric and Sash Width Matter More Than You'd Think
A technique that works beautifully on a stiff grosgrain ribbon will fail completely on a slippery satin sash, and this is something most bow-tying tutorials gloss over entirely. Slick fabrics need a tighter base knot because they're more likely to slip loose over the course of an evening. Wider sashes require larger loops to look proportional. Very thin ribbons can actually benefit from a double knot at the base before you form loops, since they don't have enough surface area to grip themselves securely.
Eva's House, a children's formalwear retailer, notes that their bow-tying technique works well with their own bows or with matching ribbon, but they're selling specific products with known fabric weights. If you're working with an unfamiliar material, do a test tie before the event. Seriously. The five minutes you spend practicing will save you from the humiliation of your bow unraveling during dinner.
When the Bow Just Won't Cooperate
Sometimes the problem isn't your technique it's the dress. I've encountered sashes that were cut too short to form proper loops, ties attached at angles that made symmetrical bows physically impossible, and fabrics so slippery that no knot would hold without hidden safety pins. If you've followed the steps correctly and your bow still looks terrible, examine whether the garment itself is working against you.
A few fixes that sometimes help: fabric tape or double-sided fashion tape at the base knot can prevent slipping. Steaming or ironing the sash before tying removes wrinkles that make loops look lumpy. And if the tails are too long and overwhelming the bow, you can tuck excess fabric into the waistband or let it trail deliberately rather than trying to incorporate it all into the bow itself. Connected Apparel emphasizes that bows are an easy way to accentuate and flatter your figure, but that only works if the bow is actually cooperating otherwise it becomes a distraction rather than an enhancement, drawing eyes to your midsection for all the wrong reasons.
Putting It All Together
Knowing how to tie a bow on a dress properly is admittedly a minor life skill, but it's one of those minor skills that comes up more often than you'd expect. Wrap dresses, sash belts, children's formalwear, gift wrapping the same basic technique applies to all of them. Once the muscle memory is there, you stop thinking about it entirely, which is the goal. The bow just happens, it looks right, and you move on with your life instead of spending precious minutes before an event fighting with fabric.
Practice on something low-stakes before your next formal occasion, and don't be surprised if your first few attempts still look wonky everyone's do, and the only difference between people who tie good bows and people who don't is that the first group kept practicing until it clicked.